How to install marley in your home dance studio
/In previous posts, we have learned how to set up your very own home dance studio start to finish. From finding mirrors to mounting them on the walls, and even alternatives to traditional mirrors, you already know how to build a studio. But, what's left is the flooring. Dancing on carpet is a quick way to tear holes through socks and end up with carpet burns. In this post, I'll show you how to quickly and easily install marley on the floor in your home dance studio.
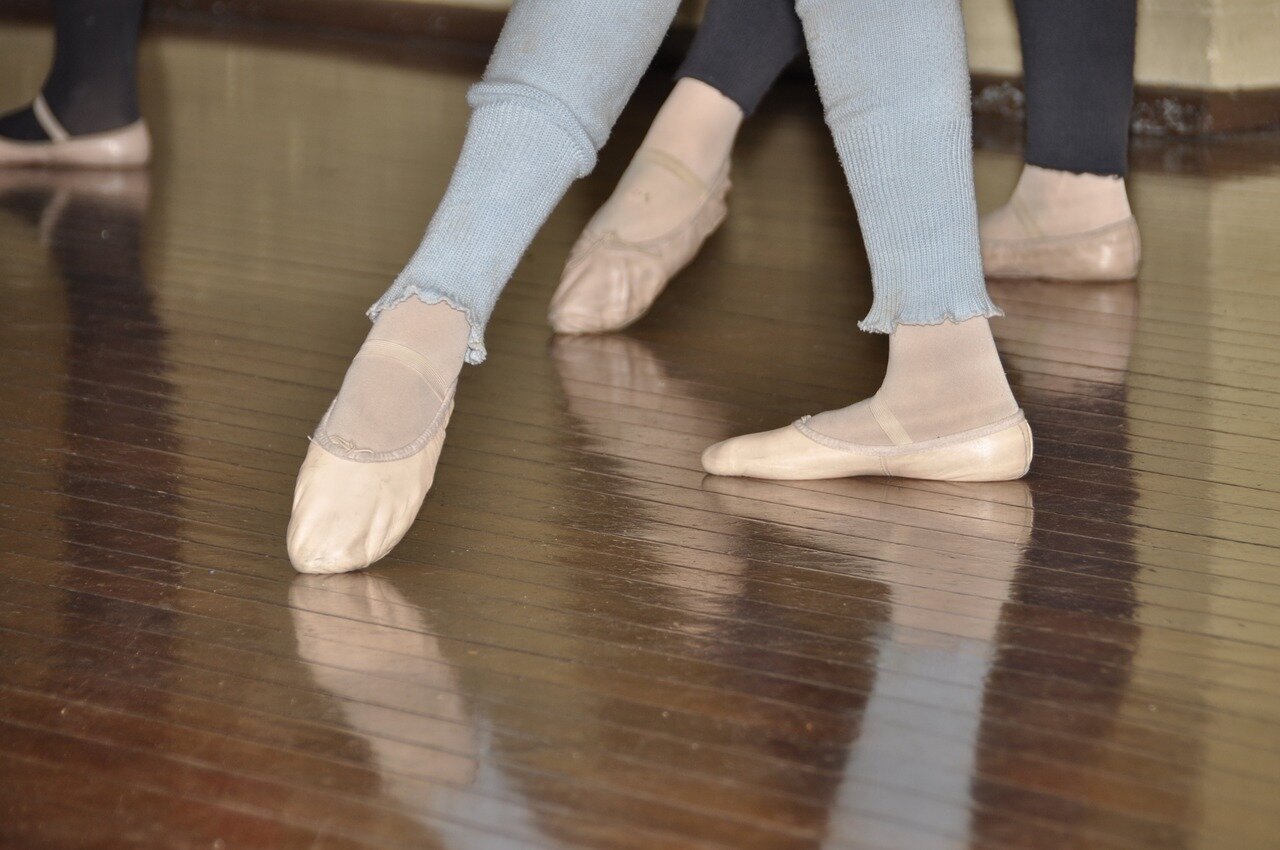
The floors of many dance studios are covered in a thin rubber / vinyl sheet called "marley." The purpose of this flooring is to provide some texture to the floor, and to give you the dancer a little bit more grip to prevent it the floor from becoming too slippery. It is also used to protect the wooden floors underneath from damage. Marley that is well taken care of can withstand hundreds of hours of dance time!
In the following three easy steps, you can install a marley floor in your own home dance studio.
Step 1: Measure your space.
Most often, rolls of marley are between 5 and 6 feet across. The length is usually custom ordered. Measure the space you plan to use from corner to corner. You should plan your space so that the depth of the studio is equal to a multiple of the width of the marley sheeting you intend to buy. This way, you won't need to cut any marley in half lengthwise.
Step 2: Clean the floor.

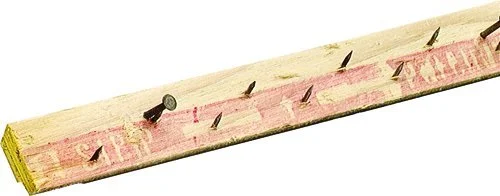
Any imperfections in the floor will decrease the life of the marley you put down on top, especially after heavy use. Thus, you will need to ensure that you are working with a smooth and level floor. This entails pulling up whatever carpet may be in the current space. You should remove any staples in the floor, and completely flatten and screws or nails that might be sticking up from the surface.
When the hardware construction work is done, make sure the floor is now cleaned with a broom and a wet mop to remove all debris that may still be on the surface. Dust and oil will prevent the adhesive from keeping the marley secured on the floor, which could lead to a floor that slides around.
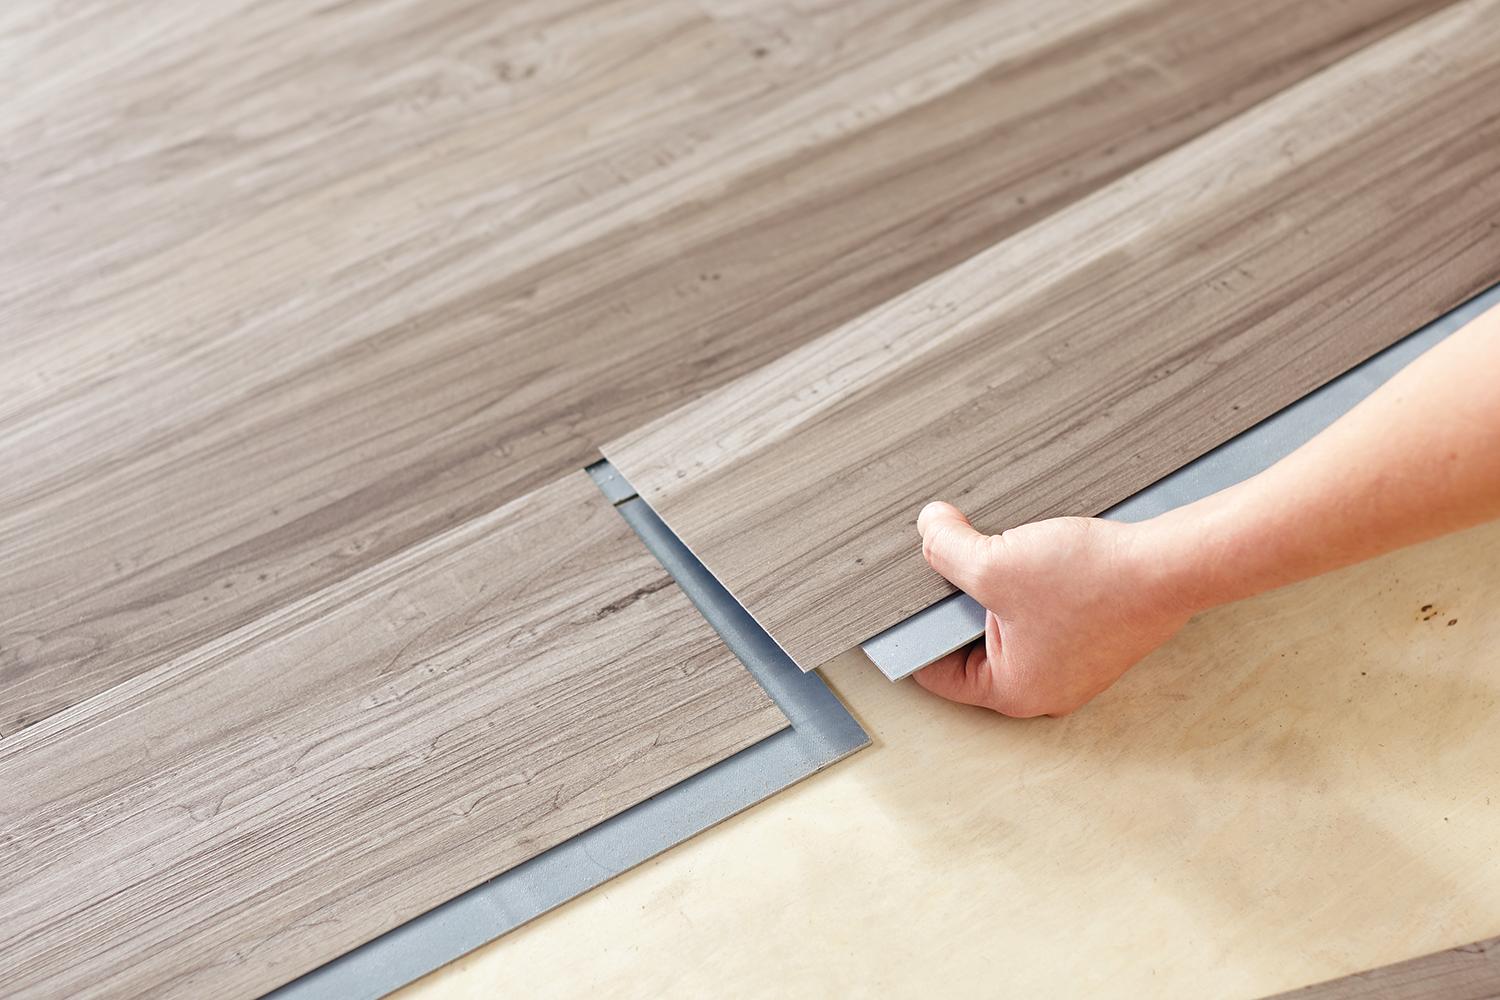
Step 3: Place the marley.
Roll the marley lengthwise across the studio, parallel to the mirrors. When you get to the end of the space you want covered, draw a line and cut cleanly using a utility knife. Move to the next row down, and continue doing this until the entire space is covered. Do not tape these pieces down yet: You will want to let these pieces of marley remain here overnight to allow any wrinkles to relax, giving you the smoothest floor possible.
Leave about an 1/8 inch gap in between each parallel piece of marley. From here, once the strips are in place, use some tape to hold down each piece. Pull the tape as tightly as possible, but avoid wrinkling the marley itself. You'll also want to flatten the tape tightly against the floor. One really good method to do this is to use the roll that the vinyl came in. It'll be a hard cardboard or plastic, and a few rolls with pressure back and forth across the seams will keep the marley secure when people are dancing on it.
And that should be it! As with any other surface, it will get dirty over time. Sweep with a broom to get the majority of the dirt off the surface, then use a water-based cleaner. DO NOT USE AMMONIA! This stuff is too abrasive, and will damage your surface.
Enjoy your new dance studio floor!
Got any good pictures or great tips that helped you put your dance studio floor together? Share them in the comments below.